We have completely redesigned our customer portal for you. If the steps described in the guide differ from what you see, you will find a PDF version of the old guide at the end of this article.
Setting up the Busy on Busy Cloud PBX
In the Cloud PBX, you can assign more than one device to a user or resource, thereby creating a call group. However, the way call groups are used can vary. Here are two examples:
Shared use
A call group could be, for example, a service hotline where several colleagues work together to answer all incoming calls. For this to work, it is important that incoming calls are still signaled even when one or more calls are already in progress.
Multiple devices owned by one person
The situation is different when an extension is used exclusively by a single person who, for example, uses a softphone in their home office and the VoIP to go app while on the go, in addition to their desk phone at the office. When this person is on a call on any of these devices, no further incoming calls should be routed to them—the line should be “busy when busy,” and callers should hear the busy signal.
Note on DND and Busy on Busy
The Busy-on-Busy feature distinguishes between whether a call is actually in progress or whether a device has simply been set to DND (“Do Not Disturb”). For example, if the DND button is activated on one phone, incoming calls will still be signaled on all other devices—until a connection is actually established.
Setup steps
1. Access the Cloud PBX
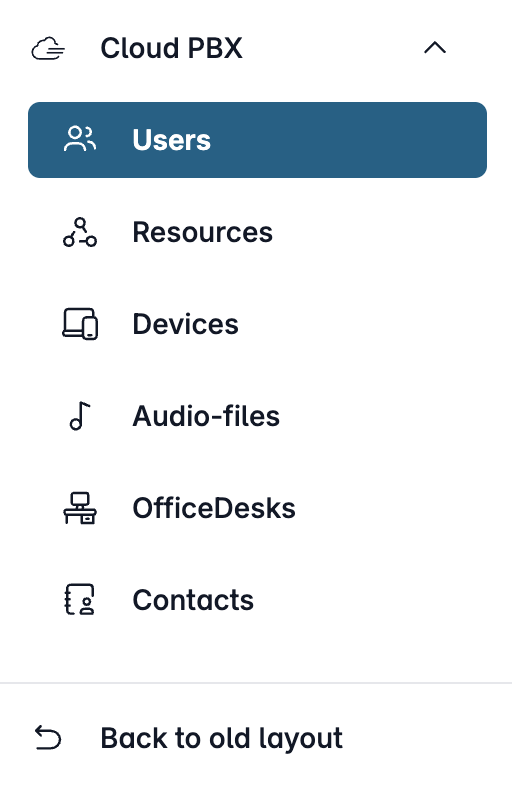
Open my.easybell and click on “Cloud PBX” in the menu bar.
Depending on the function, the Cloud PBX uses two different types of extensions:
- User: person-specific extensions
- Resources: non-person-specific extensions
Please click on the relevant entry in the sidebar.
2. Call an extension
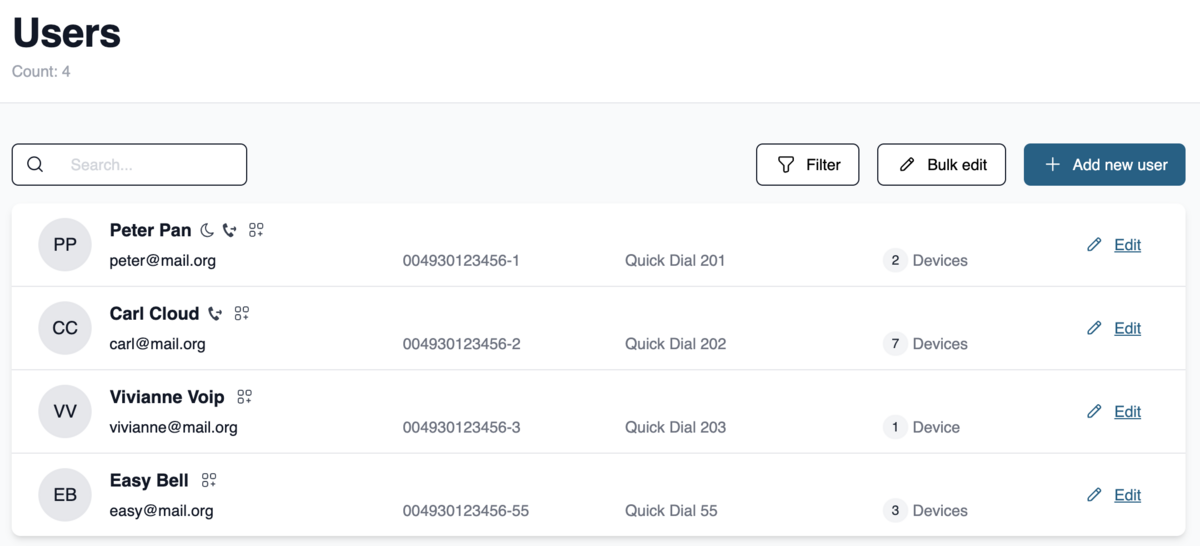

In the “User” or “Resources” section, please select the extension you want to edit and click the pencil icon next to it.
3. Set "Busy on Busy"
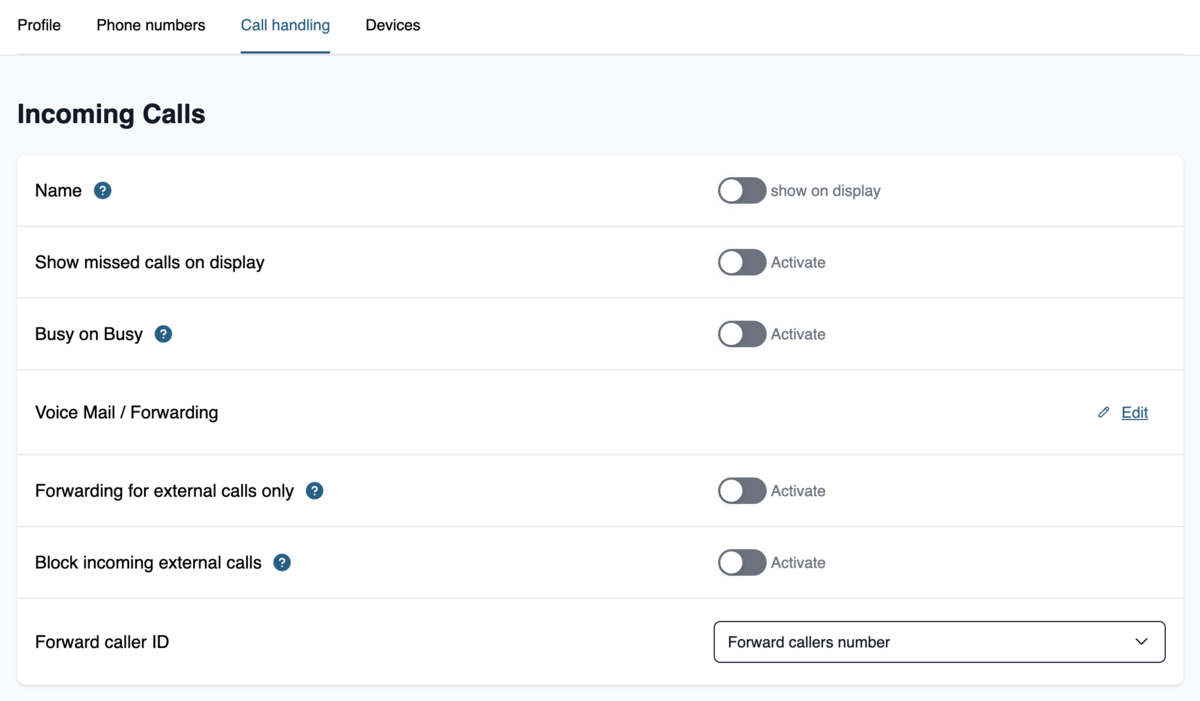
You can configure the "Busy on Busy" feature individually for each user or resource.
You can find the settings in the “Call Handling” section.
Enable the "Busy on Busy" feature and then click "Save" at the bottom of the page.
If you want active users to be able to manage this feature on their own without gaining access to sensitive data or other extensions, we recommend setting up an OfficeDesk.