How to order a VoIP phone line
The order process depends on the type of product. For example, setting up an IP phone line can be done much more quickly than setting up an Internet connection. And transferring phone numbers or a DSL line involves more coordination with previous providers. For this reason, we generally distinguish between the following types of orders:
- A new IP phone line with or without subsequent number porting.
- A new internet connection
- Transferring an existing internet connection
For this article, we’ll assume you’re interested in a new IP phone line. Porting existing phone numbers is easily possible after the line is activated. If you’re unsure, we recommend first reading our article that explains the differences between the products and ordering processes in more detail.
We’ll use the Business 2 plan as an example. However, the steps apply to all VoIP plans, such as Call Basic, Call Easy, and Call Flat, as well as Business 10, Business 50, and our volume plans.

Our ordering process – simple, fast, and with transparent pricing
easybell's ordering process guides you through three simple steps to find the plan that's right for you.
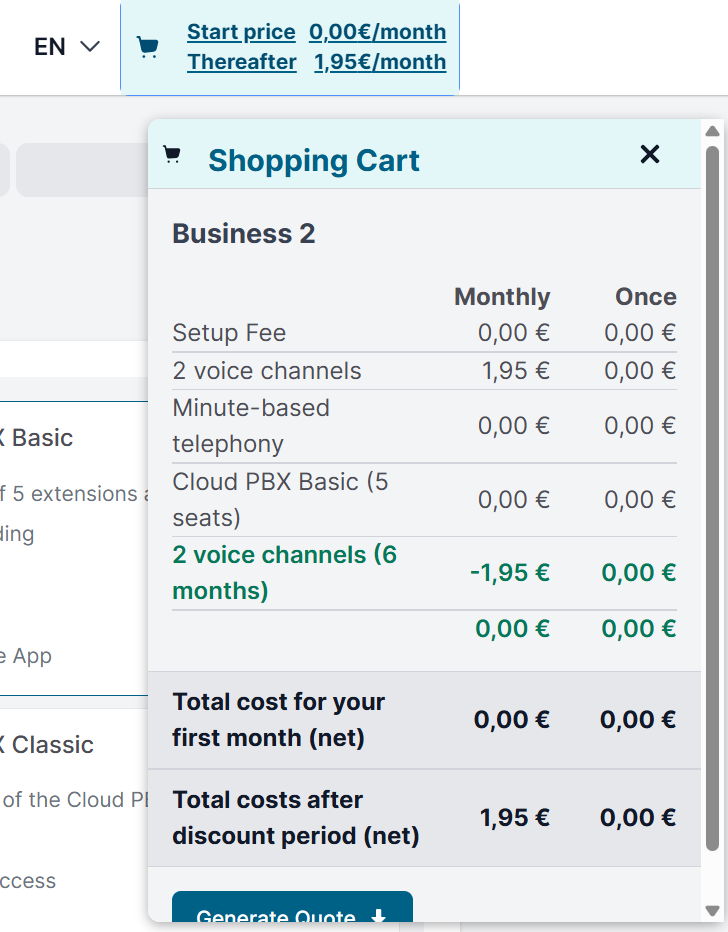
The shopping cart at the top of the screen shows you the monthly and one-time fees at all times, so you can stay in full control. Clicking on the shopping cart will bring up a detailed list of all product components and their costs.
The best part: If you don’t want to complete your order yet, you can download your configuration as a quote in PDF format. In this document, you’ll also find a link that lets you continue with your order later.
Even though the individual steps are virtually self-explanatory, we’d like to briefly walk you through them here:
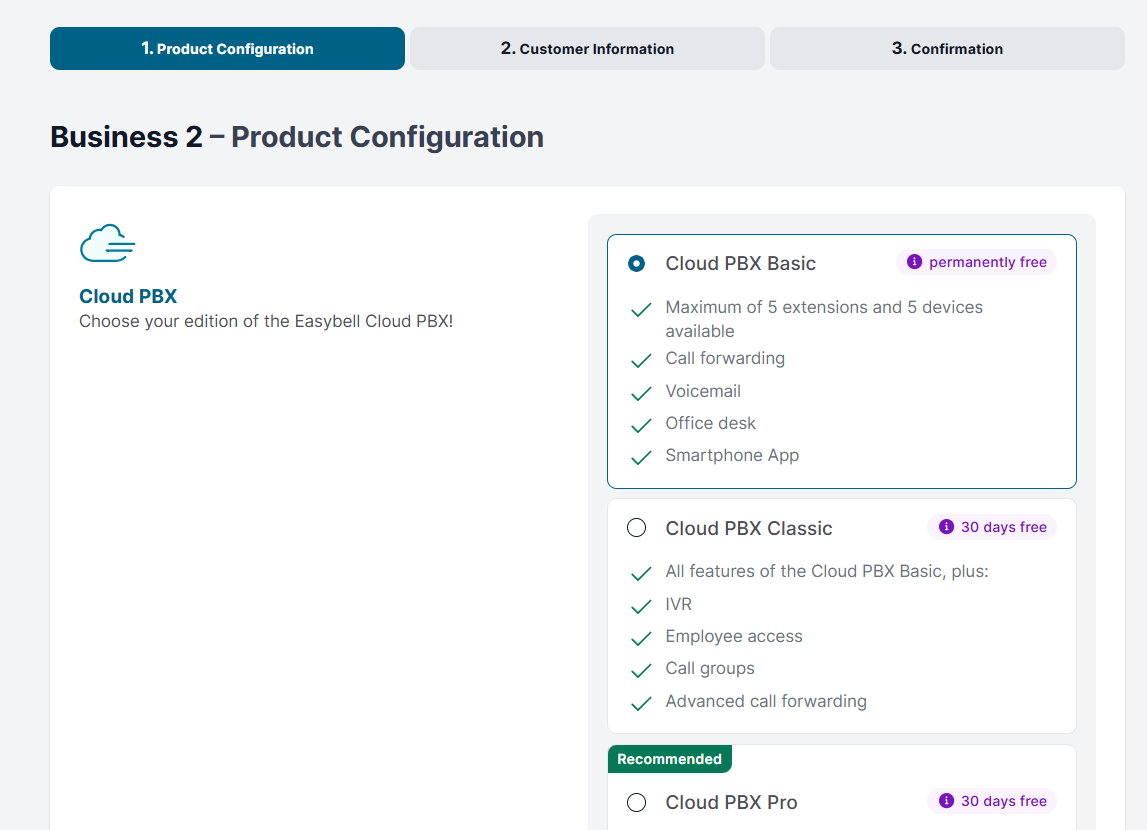
Step 1: Choose your preferred plan!
On the left side, you’ll find the plan components, and on the right, the available options for each. Any additional costs are listed directly next to the option. Your shopping cart is always updated to reflect your current selection.
Options vary depending on the plan and availability. For example, plans for personal use offer flat-rate destinations to choose from, while businesses can select up to 1,000 voice channels, our Fair Flat minute packages, or the Cloud PBX.
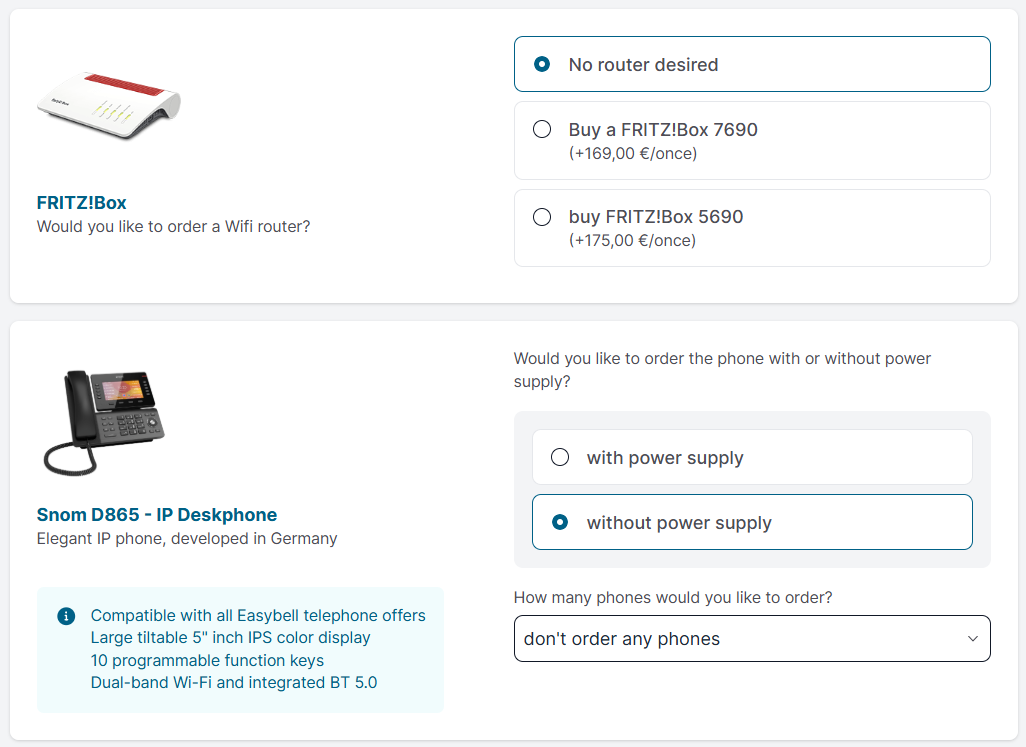
Do you need additional hardware?
With business plans, you can order compatible IP phones or WiFi routers. The selection may vary depending on the plan and availability.
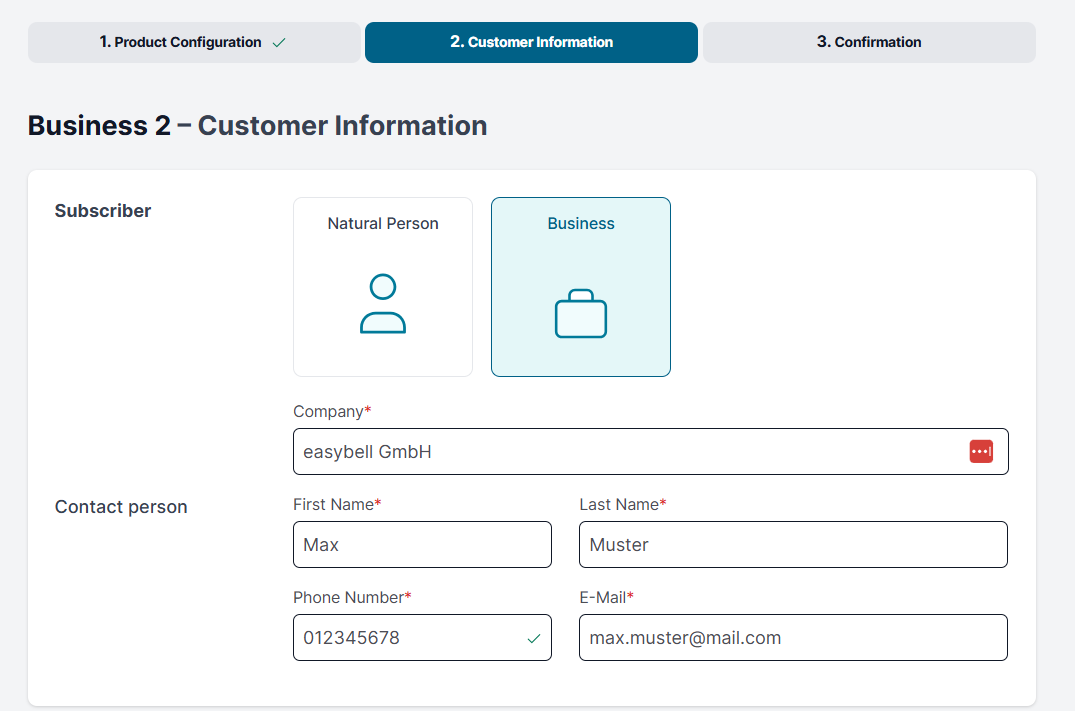
Step 2: Please enter your customer information!
In this step, we will collect the necessary subscriber information and your payment details. Businesses can choose between payment by direct debit or invoice.
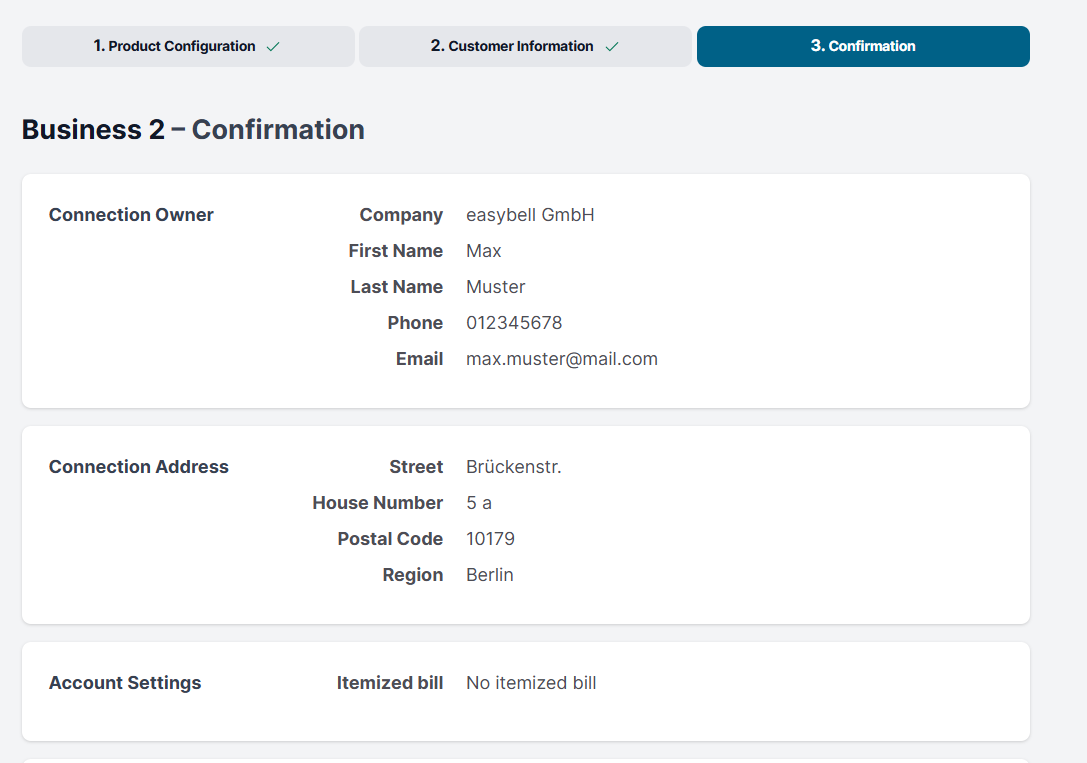
Step 3: Please review all the information!
In the final step, you can review all the information and the product you’ve selected one last time. Don’t forget that you can expand the details in the order summary!
You can also download your selection to print or send the quote, for example. To do this, click the “Generate Quote” button.
If you are satisfied with your details and would like to order the selected product, click on “Place a binding order.”
Last but not least: Complete the ordering process!
We will then send a link to your email address. Clicking on this link will complete your order, and we will take care of the rest.
If you do not receive an email, please check your spam folder.
Note: The placement process cannot continue without verification!
Here's what happens after you place your order:
Once you have successfully completed your order, we willsend you regular email updates on its progress. You will also receive an email with instructions on how to log in to your personal customer portal (my.easybell). There, you can view the latest information about your order.
Verification of the connection address:
The Telecommunications Act requires telephone providers to verify connection addresses. For this purpose, easybell will send you an activation code by mail. Once you receive it, please enter this code in my.easybell to activate the connection.
In some cases, we may ask you via email to provide us with additional proof of address. You can find more information on this under “Verify connection address.”
Request number porting
If you wish, you can request the transfer of your existing phone numbers (“number porting”) in the customer portal at this point. To do so, simply click the “Add phone number” → “Port phone number” button in the “Phone settings” menu under the “Phone numbers” tab, and we will guide you through all the remaining steps. You can find more information on the topic of “number porting” in our Knowledge Base.